Monday, September 9, 2013

Color Me Mine


We have been wanting to go to Color me Mine for a long time and it seemed like we could never find a weekend where everyone could go. So we finally found some time to get a few girls together to go! We went for a fun filled hard core Friday night out! (We were home by 8:00)

 Color Me Mine is a ceramics studio where you can pick out what you would like to paint and then get to work! I think I was most excited about this because it made me think of being a girl scout. I remember  picking out a cute little bear and painting it then being so pissed that I didn't pick the even cuter bunny like Kristina did. 


Because of Girl Scout past, I have decided that choosing what you want to paint might be the hardest part. We all walked around the store about 10 times before choosing. You can choose from just about anything and prices range from around $12- $50. (maybe more or less, but that was what I saw)


You can get basic kitchen staples like mugs or plates, cute serving platters, vases, pitches or even goofy animal figurines. They probably had that cute bunny there someplace, if I only I had seen it! 

I ended up choosing this shallow serving bowl. I imaged it filled with a yummy quinoa salad!


After you pick what you will be painting, you need to pick out the paint! They give you this handy-dandy color tile to help you pick. They even show you what the colors will like like with 1, 2 or 3 coats. This is all great, but you have to pick one some of the colors. That was hard too, I was impulsive and just went for it.


Once we picked out the colors, we went over to the color bar where the "bartender" will get your colors ready.


You can also pick out the brushes you want. I'm sure there is a method to this, however I just grabbed big, medium, small and really small and went on my way. 


Once you have your paint, brushes, water and sponge, you are ready to go! This is about the point anxiety sets in. DON'T MESS UP! That was all I heard in my head the whole time :)


You will want to use the little sponge to wipe off any dust from your ceramic piece before you start painting.


Also, you are supposed to wait for each layer to completely dry before you put on the next. However, I was impatient and didn't wait. I honestly have no idea how people could wait that long, thats probably why I'm not an artist.


I also got a lot of paint on my fingers because I wouldn't wait for it to dry before I flipped it over to do the back. But that made me feel like an artist so I was cool with it!


When you are there you will see a lot of really beautiful pieces and you will look at them and think that painting is easy. Well, It isn't. A paintbrush is much harder to use than a pencil and straight lines and perfect circles just don't exist! 


But, it is still fun to get frustrated with your friends!


After you finish paining, you head home and have to wait a few days for the helpful Color Me Mine staff to fire them.

Here is my very festive bowl.


Corrine made a bowl that made us all hate our pieces. 


Seriously! How cute is this!


Jess made a sweet mug.


And Kim made a polka-dot mug!


Well we waited a few days and then we got to see the finished product!

Here is my dish all shiny. I was pretty sure that if I put it in my kitchen cabinet I would never use it because I would  be too scared to break it, and nobody would see the beautiful art I created!

So, I threw some knick-knacks in it and put it on my bookshelf


Here is Jess's finished product! How cute is this!


She even put something special inside.


Kim's is adorable as well! Polka dots and coffee make every morning better!


And of course this ridiculously adorable bowl!
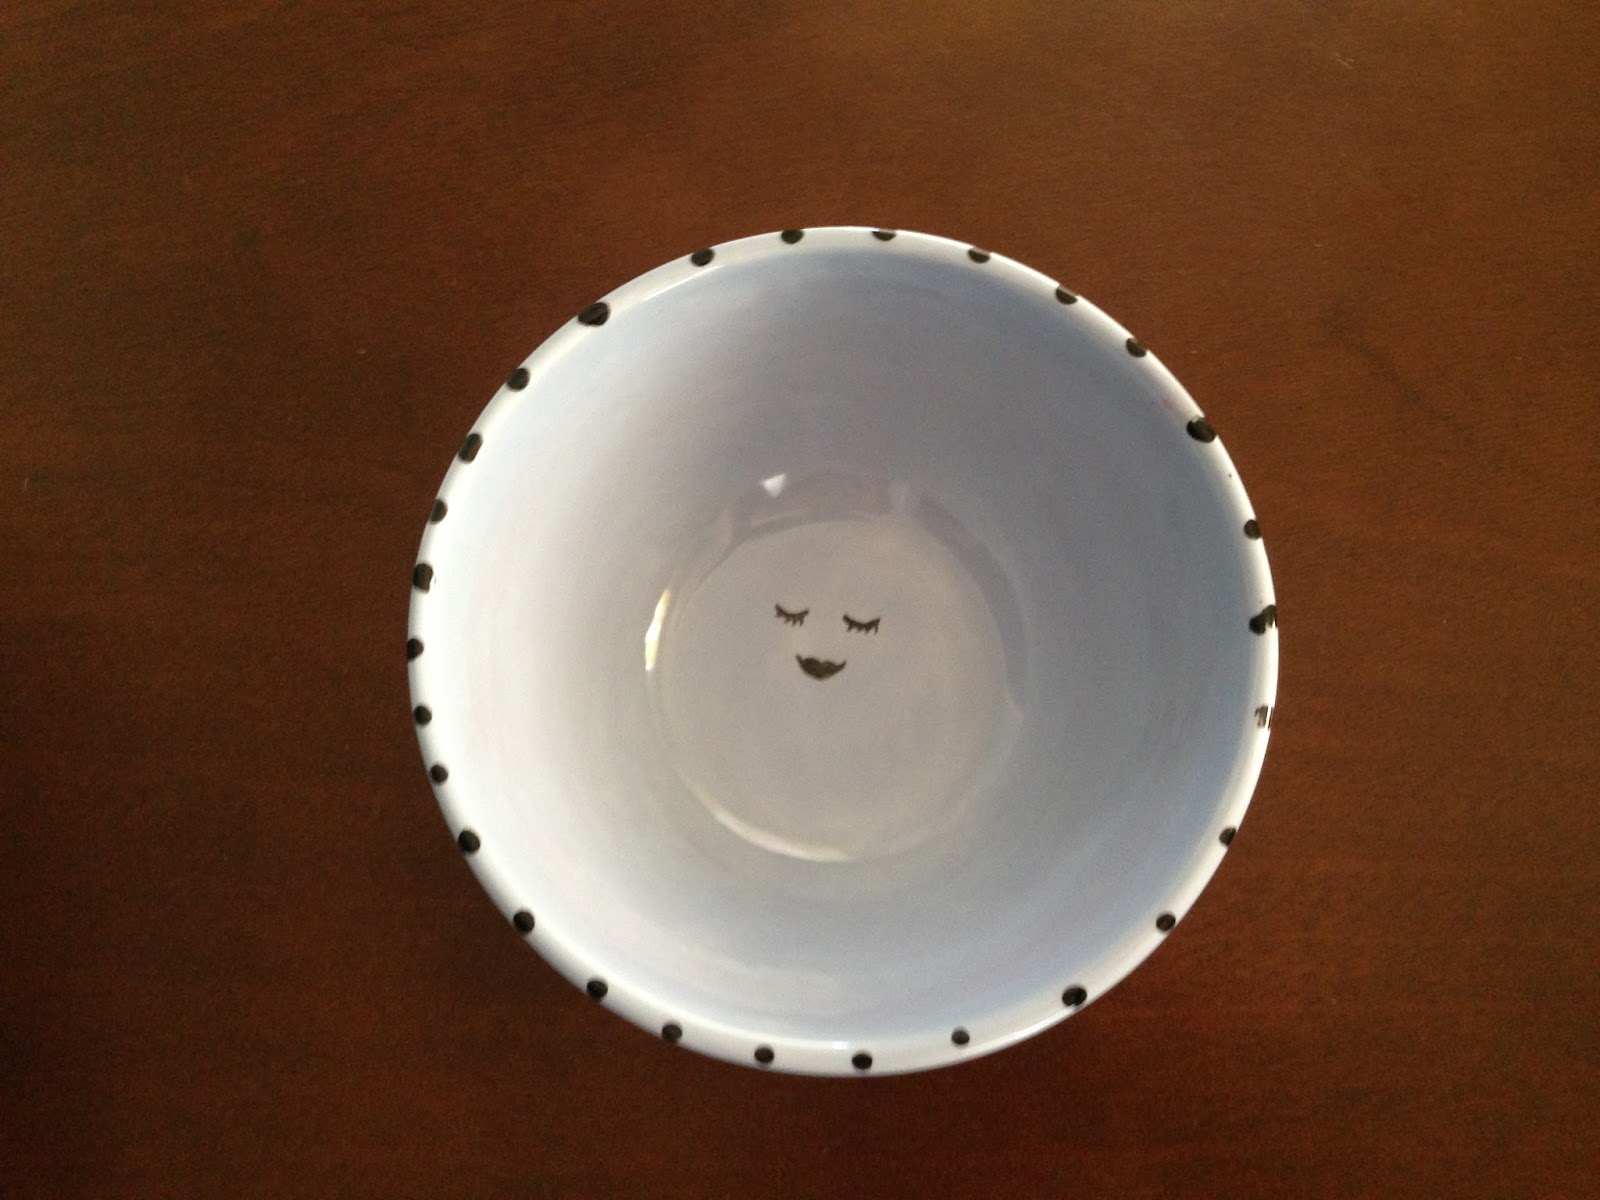

I want to steal it and use it to hold rings and jewelry.


But first, I would eat a HUGE bowl of ice-cream out of it!


What do you think! On a scale of pre-school art class to museum worthy, where do we fall?


Have you ever been to Color Me Mine or a similar place? Let us know in the comments below! Also, we would love to see what you made! Tweet us a photo or post it on our facebook wall! 

Please Follow us, Like us, Watch us, and Subscribe to us! Thank you so much for your support! 

Friday, September 6, 2013

Santa Barbara 1/2 Marathon

Ok, So if you read my post about the Big Sur marathon, you know that I was in the market for a good ol' half marathon to get my feet wet.

Well, I found one! And I think it is going to be just as beautiful as the Big Sur! I have signed up and started training for the Santa Barbara International Half Marathon!


I chose this one for a few reasons. First, I love Santa Barbara and it is absolutely beautiful! According the course map I will get to finish right by the Santa Barbara Harbor! I also chose it because it is pretty close to LA and an easy drive. I have a feeling that driving hundreds of miles or flying would wear me out and I wouldn't have energy to run. The Last reason I chose this race, is the elevation map! Not too many hills, I can handle that!


Like I said, I have started training. I took lots and lots of advice from Kim over at Mile Long Legs. Poor girl must be sick of answering my questions, but she keeps doing it with a smile on her face! (Canadian's are just so nice!)

I also downloaded the Hal Higdon training program. Popped that baby on the refrigerator and its like a coach telling me what to do every morning. So far so good!
Also, just found out there is an App for the training... hmm?

I'm pretty clueless still and constantly have questions like; Am I running right? My dog chewed my running shoes a little bit are they still ok to run in? What kind of strength training should I do? How fast should I go? What should I eat? and Is cardio really the number one survival rule?


If you have answers to my many questions be sure to share in the comments below! I need all the help I can get!


*I'm a little bit excited for the Zombie run coming up at the end of this month, can you tell!


Please Follow us, Like us, Watch us, and Subscribe to us! Thank you so much for your support! 


Thursday, September 5, 2013

Gluten Free Cupcakes!

For today's episode of Gluten Free Best Friend we make delicious gluten free cupcakes!


We decided to snag a recipe from Gwyneth Paltrow's cook book, It's All Good!


This recipe was also a bit extra special, not only did we use Gwyneth's recipe but we spiced it up a bit and used Philosophie's Cacao Magic instead of regular coco powder.


Check out the video to see how we made them!


Ingredients:
2 cups gluten free flour
1 tsp xanthan gum
1 cup cacao magic
11/2 tbs baking powder
a pinch of fine sea salt
1/2 cup of vegetable oil
1 cup maple syrup
1/2 cup brown rice syrup
1/2 cup strong coffee
1/2 cup soy milk
1 tbs vanilla extract


Instructions:
1. Mix together your dry ingredients.
2. In a separate bowl mix the wet ingredients then add into the dry.
3. Gwyneth says don't over beat the batter because that makes the batter tough!
4. Add batter to cupcake cups and bake for about 20 minutes at 350.

These are not only gluten free cupcakes, they are vegan as well. However, we did make regular frosting, so If you want the whole thing to be vegan and gluten free, you will need to use a different frosting recipe. We thought we would splurge for the day!

Frosting Ingredients:
3-4 cups confectionary sugar
1 cup butter
1/2 tsp imitation butter flavor
1/2 tsp vanilla extract

Instructions
1. Mix the butter into the confectionary sugar
2. Add vanilla and imitation butter
3. Add a little bit of the water and more sugar if needed.
4. Continue to mix until it is at the right consistency.


Yum! These turned out great! Maybe take them out a little bit before the 20 minutes for a bit of a softer cupcake, if thats your thing.

What else would you like us to make? Let us know!


Please Follow us, Like us, Watch us, and Subscribe to us! Thank you so much for your support! 

Wednesday, September 4, 2013

Vegan & Gluten Free Apple Raisin Bread

This recipe for Apple Raisin Bread is unlike any other I have ever had. It is simply delicious, and a hit among everyone I have made it for. It is vegan and gluten free, and only 145 calories per square. This is a must try! 

The original recipe came from a Vitamix recipe book. This recipe is intended to be made in a high power blender. 

*Note, I have found that the GF all purpose flour from Trader Joe's is the only gluten free flour that truly works for this recipe. I am not sure why that is, but I have tried it with several other flours. I highly recommend that flour (it's in pink packaging) if you can get to a Trader Joe's. 


Enjoy! 


Recipe yields 12 squares: 145 calories per square. 


Please Follow us, Like us, Watch us, and Subscribe to us! Thank you so much for your support! 


Tuesday, September 3, 2013

Etsy Shop of the Week: Hanging by a Thread

If you love the look of vintage jewelry, but don't always love the price tag, Hanging by a Thread is the shop for you. Angie Neal creates beautiful hand-made pieces, many of which have a vintage feel. She uses great materials, but keeps her prices affordable. 


Here are some of our favorites, but all of her items are really worth checking out. 


I'm in love with all of her fire opal pieces! 


Her pieces would make great gifts as well, and for those of you with children in your life, she has a great kids shop here


Please Follow us, Like us, Watch us, and Subscribe to us! Thank you so much for your support! 


Winter Coats

We may live in Southern California and currently experiencing a heat wave, but I know a lot of you are starting to get that fall weather and you are probably looking for a fabulous coat to keep your spirits up during those long cold winter months. I know all about those cold gray winters as an up-state New York native, I know how important it is to find something to brighten your day!

Here are some of our picks for great winter coats that will keep you warm and keep you smiling!

Under $200

I'm obsessed with this Katrina Bow Coat from Shop Ruche is adorable! The only reason I couldn't have this would be because it would be covered in coffee stains and god knows what else after a week! But, I can still dream!


This Faux Leather Moto Jacket by Sam Edelman is the perfect leather jacket! Love the color and and the style! If you wanna look super cute, but feel like a tough chick, I think this is is the jacket for you.


Under $100

Up first, Why Aloe There! from ModCloth. Love this green color in the traditional pea coat style. How cute are those pockets!


The Carefully Chosen is another great coat from ModCloth with a houndstooth pattern and huge collar! You don't even need a scarf, and this would looks great with a pair of jeans or when out on the town in a cute dress!


The Floral Trench Coat from Ruche isn't that heavy but great for windy or rainy days when you want to feel a little bit of spring!


Under $75

The Leipzig Hoodie from ModCloth is fun and casual, probably not for those really cold winters, but in a milder climate this would be perfect! 


If you win the lottery and can spend over $200 on a coat.

Anthropology has this adorable Plaidblock Coat  It is amazing! The plaid and the yellow are great together! I need this one! This one looks like it will be good and warm too! So, if you are in those cold climates, this one is worth the $218!


What do you think of our picks? Will you be ordering any of these? What do you look for in a winter coat?


Please Follow us, Like us, Watch us, and Subscribe to us! Thank you so much for your support! 


Monday, September 2, 2013

Happy Labor Day!


Happy Labor Day from us at A Girl's Best Friend! We hope you have a safe, fun, and memory filled holiday with your friends and family. 

Bailey is on a camping trip, and I, Mahaley, will be watching season two of Breaking Bad with Coco and Charlie Riggins (my new kitty!).  

Thank you all for the continued support and we hope you have a great holiday! 


Please Follow us, Like us, Watch us, and Subscribe to us! Thank you so much for your support!